

meta data for this page
Create Workflow Maps
Workflow Maps are process maps like any other process maps. So they are created in the same way. Maps are stored in M-Files like any other object. They can be tagged with metadata, versioned, and quickly found using the search function.
Follow these steps to create a new workflow map:
- Open the Create menu.
- Choose a Process Map object.
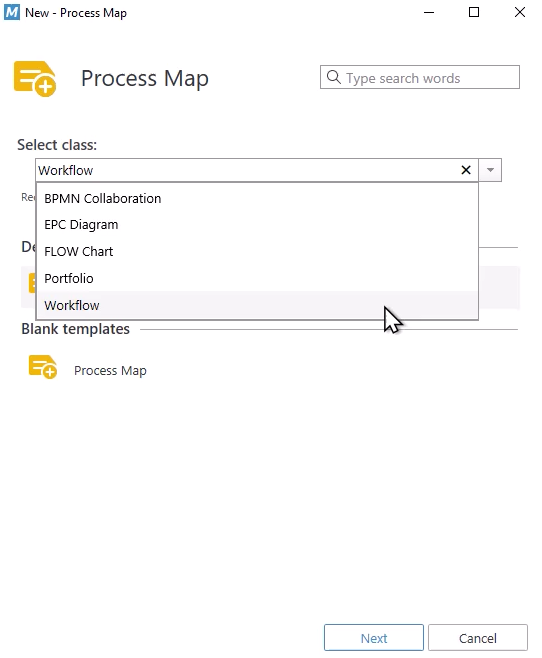
- Specify what sort of map you would like to create. Select
WORKFLOWas class. - Click Next.
- Fill out the rest of the metadata card
- Click Create.
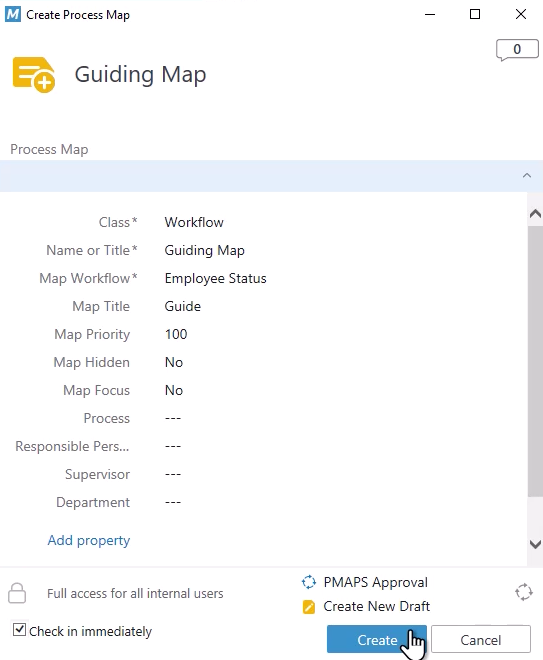
When filling out the metadata card, you need to specify which M-Files Workflow you want to model. Additional tags are:
| Map Title | Set a name for the workflow tab which will be displayed in the M-Files Client |
| Map Priority: integer | If there are multiple workflow maps for a specific M-Files workflow, there must be a priority, which map is shown automatically from the preview and which other maps are shown in the dropdown. If selecting multiple maps from the dropdown, an order must be specified. The higher the number, the higher the priority. |
| Map Hidden: Yes/No | If maps are hidden, they are not shown in the dropdown of the preview toolbar. They are not applied by the preview automatically. However, you can navigate to these maps using a command. For example, you can have a default map preview but you can offer a special map for a specific phase of the workflow with more details and guidelines. You can hide this map and only make it available when needed, as work step map, or workflow map forced to display through a navigate command. |
| Map Focus: Yes/No | When maps are in focus, they are directly displayed once an object associated with the same workflow is selected. one is displayed in the drop-down list of the preview toolbar. They are automatically displayed in the preview. You can thus use a metadata property to decide which workflow cards should be directly visible to users and which will only be visible when the tab is selected. It is recommended to display cards only on demand. |
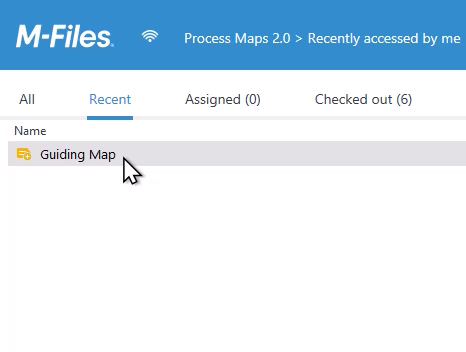
Once created, double click on the map. Check-out the map and open the Process Maps Designer.
Designing your Workflow Map
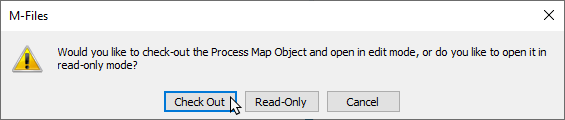
Now you can design your workflow map. When the map is opened for the first time, the following dialog appears:
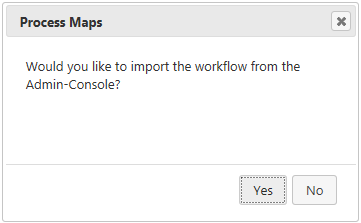
If you confirm this with Yes, the individual workflow states are automatically imported from the M-Files Admin Console.

Please note that changes made to a workflow in the M-Files Admin console require some time to be applied by the automatic import. This takes about a day, or can be shortened by restarting the vault.
Alternatively, you will find a list of the workflow states of the selected M-Files Workflow on the right-hand side.
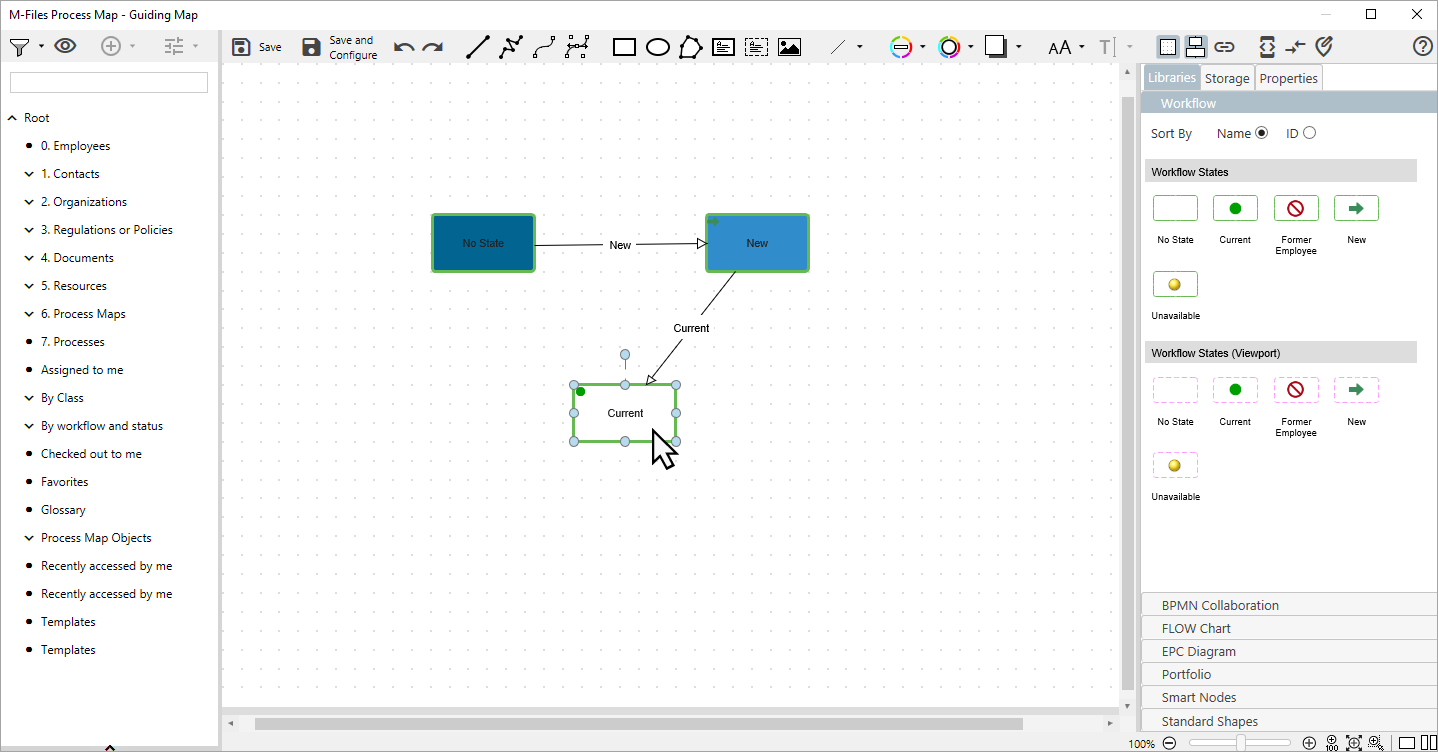
Note: The lines between workflow states appear automatically, if there is a relation between the states. However these lines do not have any technical function. You can delete them, you can move them, you can change the caption any way you like!