

meta data for this page
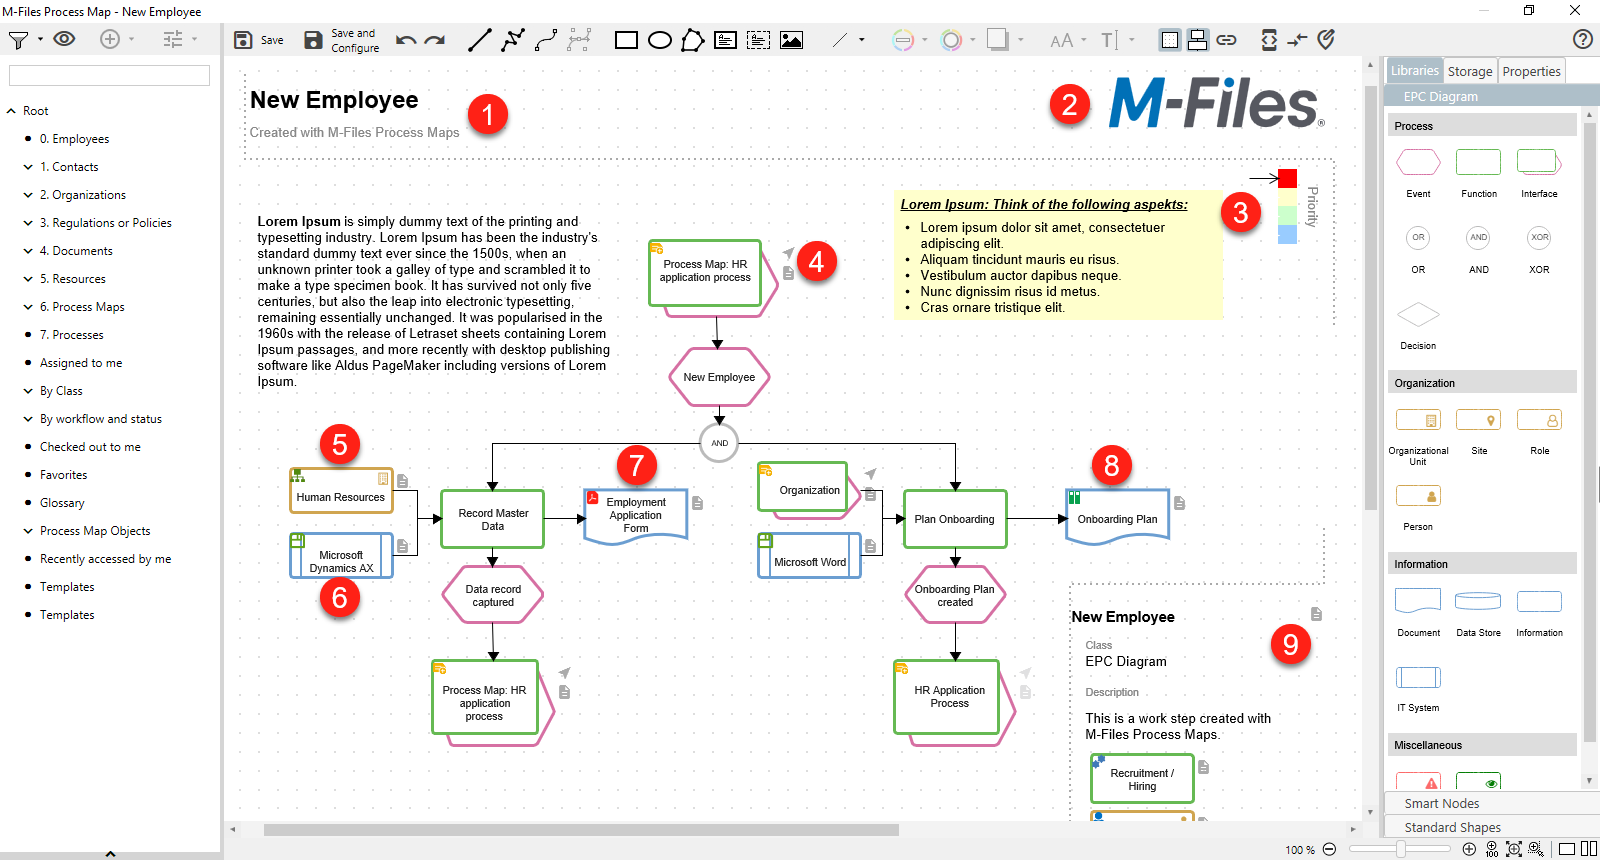
M-Files Objects and Vault Views within Process Maps
Using real M-Files objects in process maps is an outstanding feature of M-Files Process Maps. It allows you to generate dynamic maps that react to object changes in your vault structure. Think about the metadata you use in your objects and consider which of them can be visualized in a meaningful way.
Here are some ideas:
- Read the metadata of the process map object itself and display properties as creator and last changes directly in the map.
- Navigate to a central process map object that contains a menu structure and further information by clicking on a linked logo.
- Display property values dynamically with color changes.
- Jump back and forth between top-level SOPs and individual work steps by using interfaces to navigate to other maps.
- Include organizational units, departments and persons in your process maps. These relationships can be made visible later (optionally) via the 360-degree view.
- Integrate IT systems or applications to check their availability directly in the process.
- Use documents and object templates directly in the process to look up content or create new content.
- Open document collections, multi-file documents, projects and M-Files views to look up content or create new content.
- Include any M-Files object to automatically connect it to the process in a 360-degree view and access its metadata.
Left Side Menu
The menu for adding M-Files views or objects is located on the left-hand side of the M-Files Process Maps Designer. This consists of:
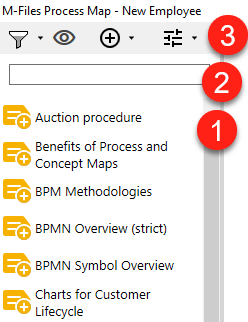
- The list of M-Files objects or views.
- The search bar above and
- The toolbar.
There are four buttons for M-Files objects including drop-down menus as arrow symbol next to the buttons:
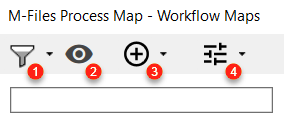
- Select Filter - Clicking on this icon opens a dropdown list consisting of the sub-views of the view
Process Map Objects. Here you can filter which M-Files objects are displayed in the lower list. - Select Views - display all M-Files views to use them e.g. with Smart Nodes for Views (see Smart Nodes for M-Files Views)
- Create an Object - create new M-Files objects from the context of the Designer. This can be useful if you need objects of a certain type, such as tasks, while you are creating the map. Please note, after a filter has been set, only M-Files objects that correspond to the selected sub-view can be created.
- Change Search Setting - helps to refine the search options for objects, e.g. if you have selected a view that displays a lot of objects as “All Objects”. There are two ways to customize the search options:
- Search Operator lets you determine whether a search term must be contained exactly, is contained at the beginning or contains the individual search terms.
- Maximum Search Results lets you determine how many results will be displayed (use this setting with caution, as it may affect system performance).
The object menu can be enlarged or reduced by moving the mouse over the right-hand bar, click-dragging the double arrow.
Add and Remove Objects
- To add an object to the canvas, drag it with the left mouse button to a free area.
- The shape of the object may change to an icon if the configuration has been adjusted in M-Files Admin (for example, swimlanes as symbols for roles or departments).
- On the right-hand side of the Properties menu, you can see that an M-Files object is linked and find some properties, such as Name or Title and Object ID. These values are assigned automatically and cannot be changed.
- Newly added objects also come with their own commands.
- When adding more elements, be careful not to drag them directly onto other elements, as they will be replaced.
- If you want to replace objects in elements, simply drag a new object onto the shape. If values or commands are stored on the element, they are automatically updated whenever possible.
- To delete an object link (e.g. to continue working with an empty shape), select the shape and click the
Delete Linkbutton on the right-hand side menu.
Quick Choice Menu
If you drag the object from the object menu while holding down the CTRL key, a Quick Choice menu appears as soon as you release the left mouse button. Now you can choose which mapped symbol or if the default text field should be displayed.
Note: What is shown as a Quick Choice is determined by the symbol mapping.
See Symbol Mappings for further information.
Using M-Files Views

In addition to M-Files objects, you can also use the views of your vault within M-Files Process Maps.
- When you drag a view from the left side menu onto the canvas, it is displayed as a plain label by default.
- The number displayed below indicates the count of objects that are in the selected view.
- Click on the label to navigate to the selected view in your Vault.
- Link your view to one of the Smart Nodes for Views to get even more information and different display formats.